painting my fabric banner
I love Pinterest for the convenience of collecting and organizing ideas. I usually have several project going on at once. For all the projects actually going on at a work station in my art room, there are several more projects going on in my head.
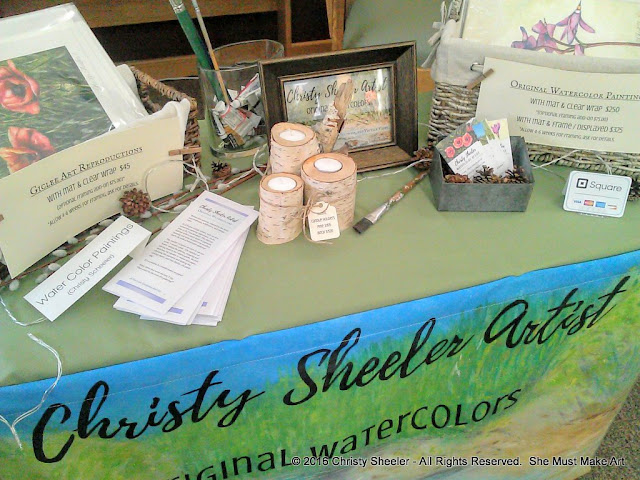
While working on a design for my event booth, I've pulled together colors and textures that represent me as an artist. Because I love nature so much, it seems appropriate that nature should be reflected in how I represent myself and my artwork. I went on my search through Pinterest to find beautiful booths from other artists and creatives. I'm definitely a visual learner (no surprise there, right?) so all the photos help me streamline what I'd like for my own event booth.
While I worked on the banner, I shared photos on Instagram and someone asked me to share more. I try to take a lot of photos as I work on a project and I enjoy sharing about the processes involved! So, here's another project that you might enjoy trying!
It began with me wondering how it could be possible to paint with watercolors on fabric. This kind of project is venturing into the unknown. It's always my preference to find some great how-to's to get me started! I came across a great tutorial and wondered how I could use it to make my own watercolor painted banner.
Cami at Tidbits shares Inspiration for Do-It-Yourself Living and she gives a great tutorial on How to Watercolor Paint on Fabric. She leads the reader through an easy-to-follow project using white pillow covers. They turn out lovely with the varying colors and textures! She gave me the tips I needed to begin this project!
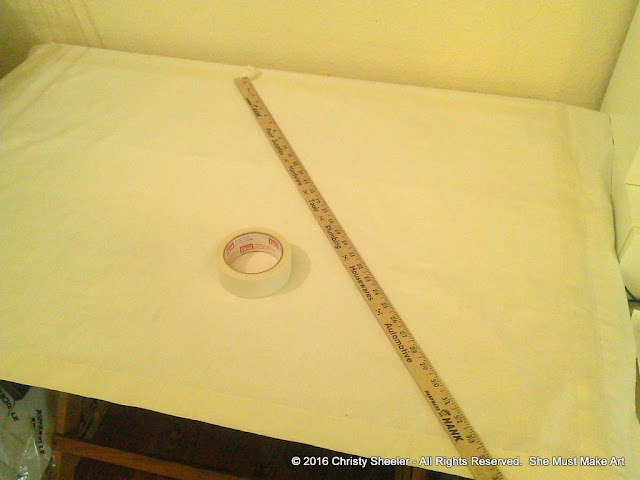
While rummaging through my fabric stash, I came across the leftovers from a curtain I had shortened; it's ecru color would be a perfect base. It had enough weight to it that it ought to hold up nicely. Once it was trimmed and had a new hem all around, it was ready to become a banner.
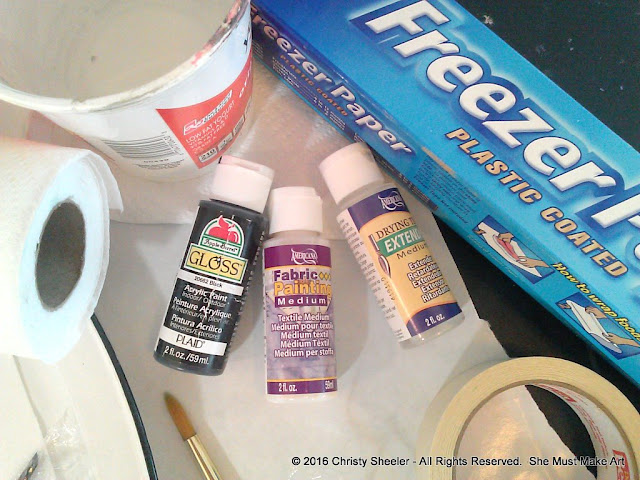
Supplies list:
Fabric
Watercolor paints (tubes or cakes)
Fabric Medium (I bought 2 bottles (2 fl. oz. for $3.75 each)
Black acrylic paint
Drying Time Extender Medium (2 fl. oz. for $2.35)
Permanent marker, black
Inexpensive brushes
Disposable plates or bowls
Freezer paper
Masking Tape
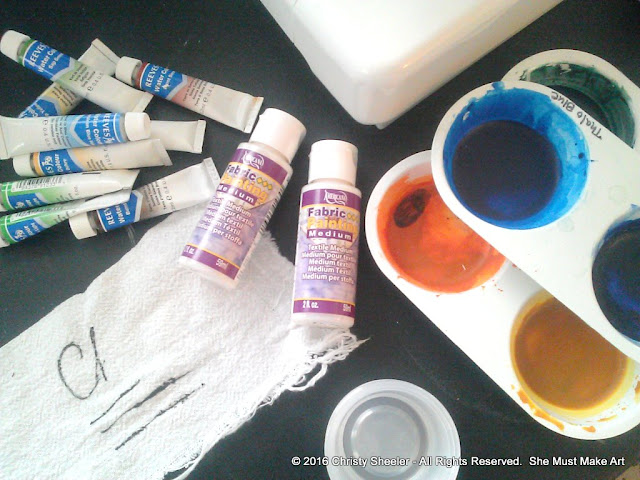
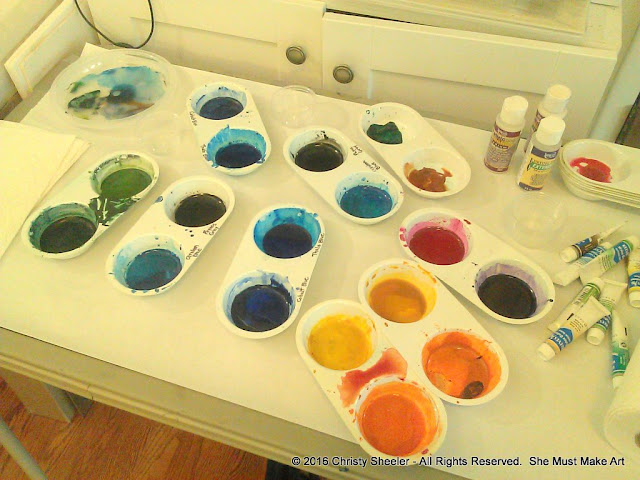
Before diving in on the actual banner, I wanted to test out the techniques on a scrap of fabric. I am a bit of a control freak and I like knowing what to expect. There always seem to be surprises but I feel better prepared this way. I pulled out student grade watercolors from when I've taught watercolor classes in previous years. I found I also had some paint still leftover in plastic palette duos.
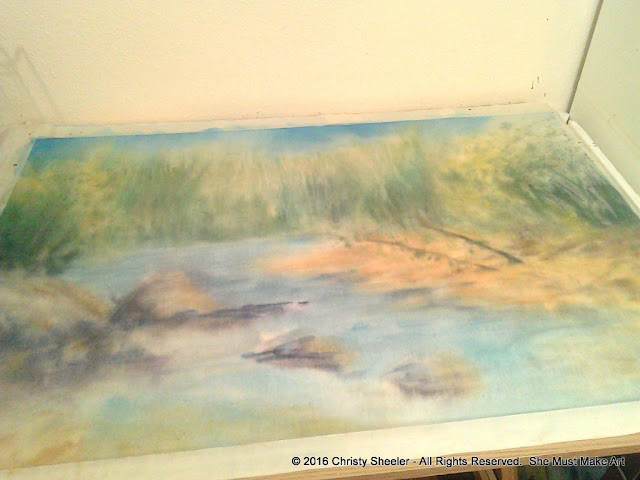
There's a loose and fresh watercolor painting I painted in Glacier National Park years ago; it's become the background for much of my promotional signs. I love the colors and the textures and so this was my inspiration for the banner painting.
The fabric medium instructions recommend mixing paint 2:1 with medium. That means 2 parts paint to one part fabric medium. I kept this in mind but tried Cami's method first.
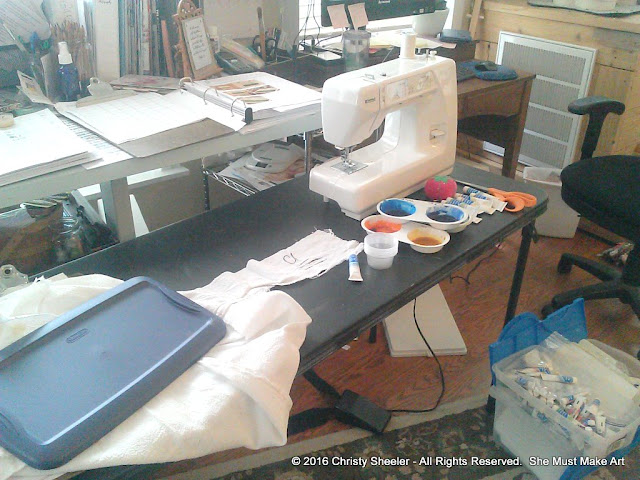
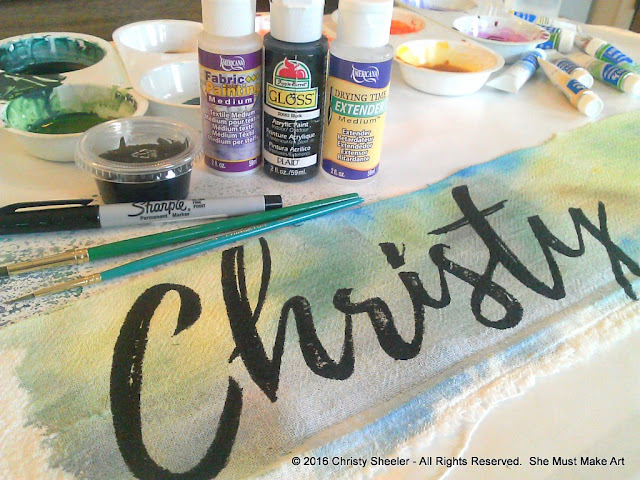
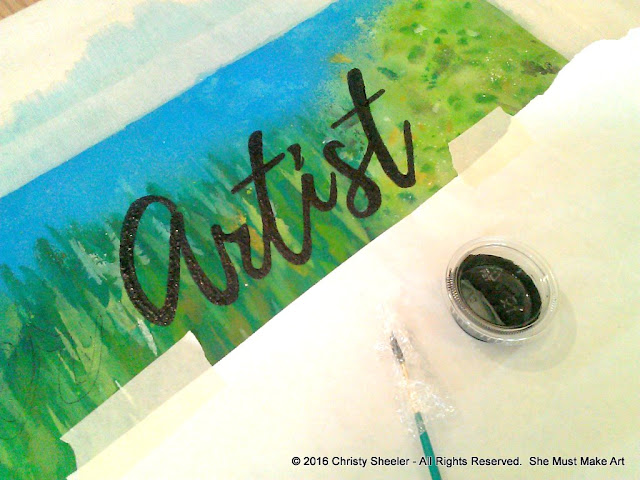
Many of the paints were already in plastic palette cups. With this trial painting session, I painted on the fabric with the watercolor paints and then went back over with the fabric medium. It went very well and I loved the effects that were achieved. I had hoped to use India ink for my lettering but that would not be as durable. Instead, I mixed a small amount of black acrylic, fabric medium and drying extender in a small plastic cup. (Both the fabric medium and the drying extender can be found in a craft store with the bottles of acrylic paint.) Please remember, the fabric medium is meant to make the paint permanent, even washable, so it will prevent you from being able to remove it from the paint cups, brushes, and so forth. (I tossed the palettes when done.)

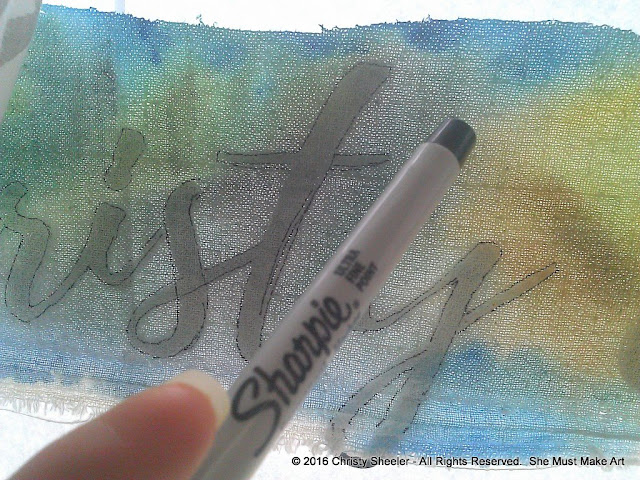
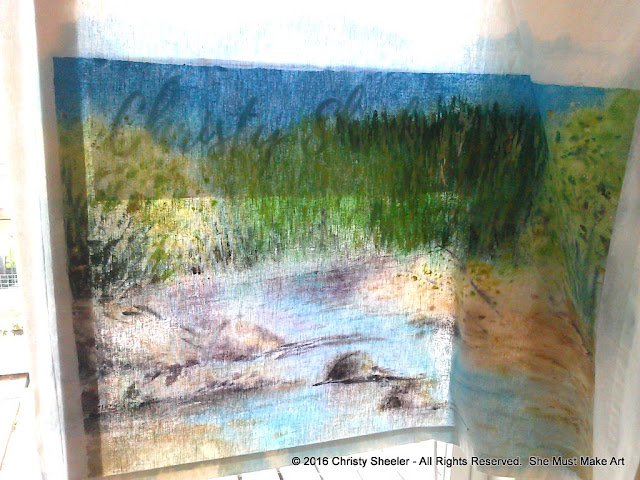
In order to transfer the lettering to fabric, I first made a template on the computer. With my name in the font and size I wanted, I printed off a copy on my printer. I used the tracing-at-the-window trick by taping the sheet of paper with the printed lettering to the glass. I taped the fabric over that so the light would shine through and the black lettering could be traced on the fabric with a black permanent marker.
Once the lettering had been traced on the fabric, I brought it back to the work table to paint in the lettering with a mix of black acrylic paint, fabric medium and drying extender. In the example below, I created a bit of great texture by not filling in the letters completely. It really gives the effect of brushed letters. I liked this effect but did not use it in the final banner.
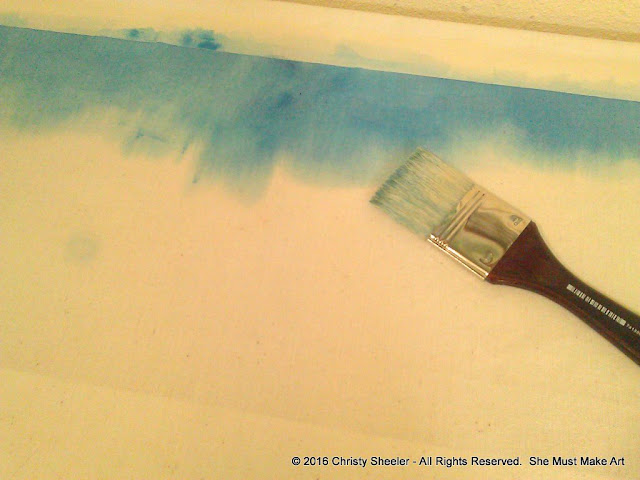
My trial run worked so well, I felt confident to begin the fabric banner. I spread freezer paper (plastic shiny side up) over my work surface. Then, with the fabric spread across the freezer paper, I used masking tape to map out my borders. The paint did bleed under the tape because I worked very wet. Be aware that the tape, unlike watercolor paper, will not prevent paint from traveling past those borders.
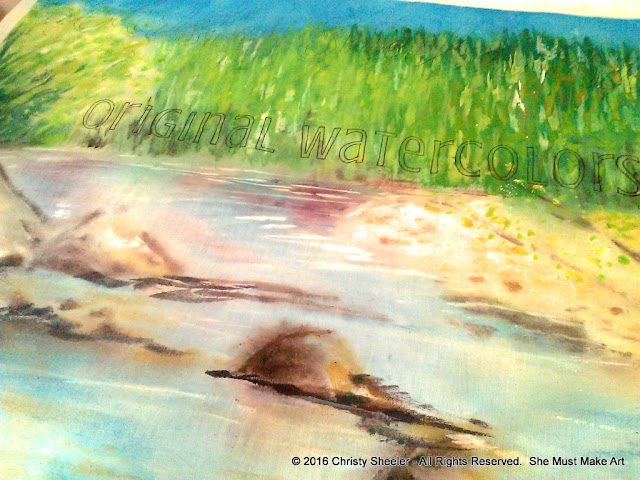
I really enjoyed painting with the watercolor paints on the fabric! Using the spray bottle filled with water, I could make great effects but I didn't realize it would result in more muted colors when finished. That was my mistake. Oops! When I went back over the finished painting with fabric medium, the colors became so muted, I knew I'd have to try again.
My second attempt worked better for me. This time, I mixed the fabric medium with my watercolors prior to painting on the fabric. You'll see the difference in the photos toward the end of this post.
NOTE: The brushes and mixing palettes/surfaces should be disposable for doing it this way. I found that my brush and palettes could not be cleaned completely. I took this risk knowing they might all have to be tossed in the end. I'll share a list of 10 tips at the end of this post.
The paint, once mixed with the fabric medium, becomes similar to an acrylic craft paint and will dry quickly. I used the drying extender, which I already had from another project, to give me a bit more time while painting. At this point, I was figuring out that by mixing in the fabric medium, it would be wise to use a disposable mixing surface. I don't have a photo to show, but I used Styrofoam bowls and plates the second time around. When done, the bowls could just be tossed in the garbage. Fortunately, as I tried out all this, I did not pull out my best palettes or brushes! So keep in mind, use only what you are willing to throw away when finished with this project.
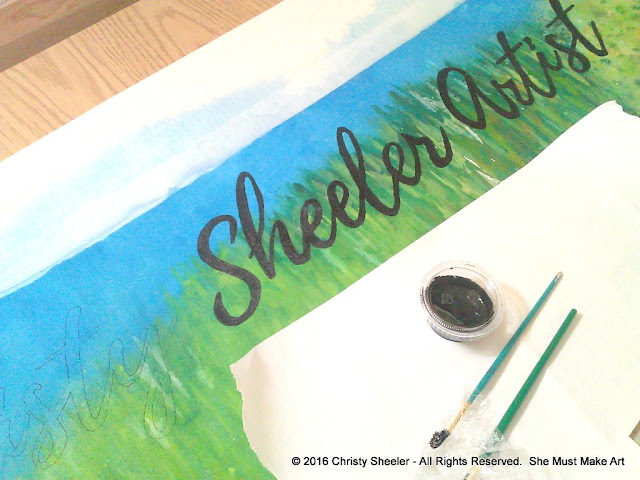
I repeated the steps for transferring the lettering to the banner. I began by designing the words on the computer and printing them off on paper. Once the banner and sheets with lettering were laid out, I could judge how well the words would fit.
At this point, I needed to tape these to the glass window for tracing the lettering. My daughter helped me out here and a second set of hands made this step easier! I repeated the steps of tracing the lettering with a permanent marker.
I took some extra precautions to protect the banner from dripping paint. I tore off a sheet of freezer paper and taped it to the banner. It would be impossible to clean up any drips at this point. The paint from the background had dried and been tossed in the garbage. I didn't want to mix up more paint to cover any smudges or drips of black paint. I used cheaper brushes and kept them wrapped in plastic while not being used.
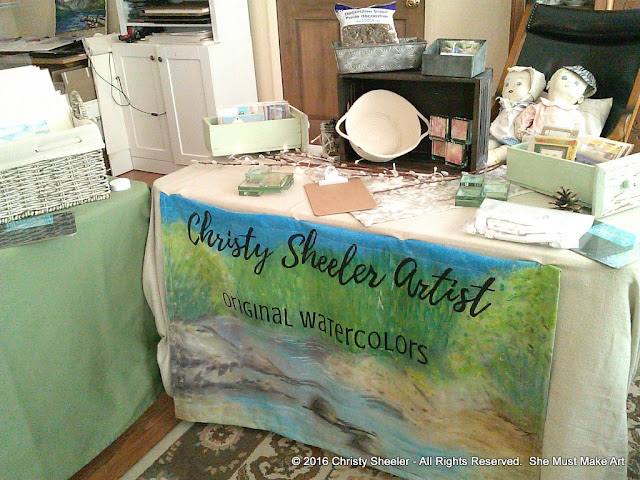 |
The finished banner hanging as a part of my booth display.
|
I am so pleased with the finished banner! In the end, I did trim more fabric and re-hem it to hide the soft bleed of color that moved under the tape. That was my own personal preference. I sewed the top hem so a curtain rod could be used to hang the banner.
10 Tips for Painting with Watercolor on Fabric:
1. Use freezer paper to protect your work surface. Freezer paper makes clean up a breeze!
2. Practice on a scrap of fabric first. Less stress and more fun!
3. Mix the fabric medium with paint in disposable bowls/plates.
4. Use brushes you are willing to toss when done.
5. Mix one part fabric medium to 2 parts watercolor paint.
6. Type out and print off text on paper as a guide.
7. Hang the text and fabric on glass to trace lettering on fabric with a permanent marker.
8. Wrap brushes in plastic wrap to prevent drying out if switching between different sizes of brushes.
9. Try Drying Extender (just 3 or 4 drops) to extend your painting time.
10. Heat set 30 seconds with iron. I laid a clean white cloth (flour sack towel) over
the banner and used my iron on a cotton setting, moving the iron to a new section every 30 seconds.
If you'd like to see the tutorial that helped me get started with this project, be sure to visit TidBits!
Please comment below if you try this type of project and how it goes! It's a great way to explore a new way of painting with watercolor. Who would imagine that watercolor could go on fabric in a durable way?
With so many new opportunities opening up for me lately, I'm having more difficulty being consistent in my blog posts. I really do enjoy sharing more lengthy posts like this one. I have participated in two events and I have one (possibly two) coming up in November. Three original watercolor paintings and several art prints have been sold recently. I've been contacted about two artwork commissions and am excited about those opportunities! I'm in the process of making more small improvements in my art room. September was one of the busiest months I've had in over a year! It's not easy for me to share shorter blog posts. I'll work on that and try to find my voice for a short art studio update. I'm still loving the creative life and being able to share it here with all of you!
-Christy
She must make art.


